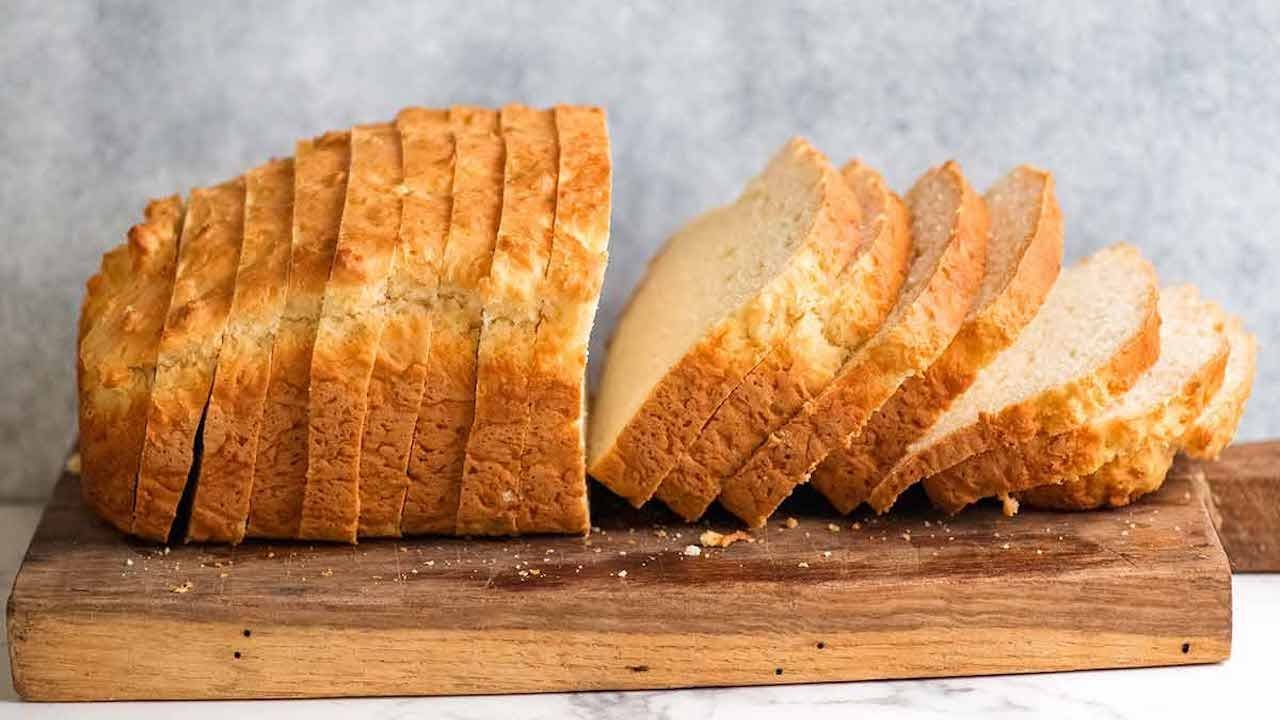
There’s something incredibly fulfilling about baking your own bread, but the thought of using yeast, waiting for the dough to rise, and managing multiple steps can feel overwhelming.
This is where no-yeast bread comes to the rescue. If you're new to bread-making or need a quicker alternative, this no-yeast bread recipe lets you enjoy fresh, homemade bread with minimal fuss and no waiting around for dough to rise.
This straightforward recipe requires just a few pantry staples and less than an hour from start to finish. It’s a perfect option for last-minute baking or as a versatile side that complements many dishes. Below, we’ll go over everything you need to know to make a flavorful no-yeast bread at home.
What Is No-Yeast Bread And How Does It Work?

No-yeast bread, often called soda bread, uses baking soda as a leavening agent instead of yeast. When baking soda combines with an acid-like buttermilkor vinegar-it creates tiny bubbles of carbon dioxide, which help the bread rise slightly.
This method offers a quick, beginner-friendly alternative to yeast-based bread since there’s no need for rising time or proofing.
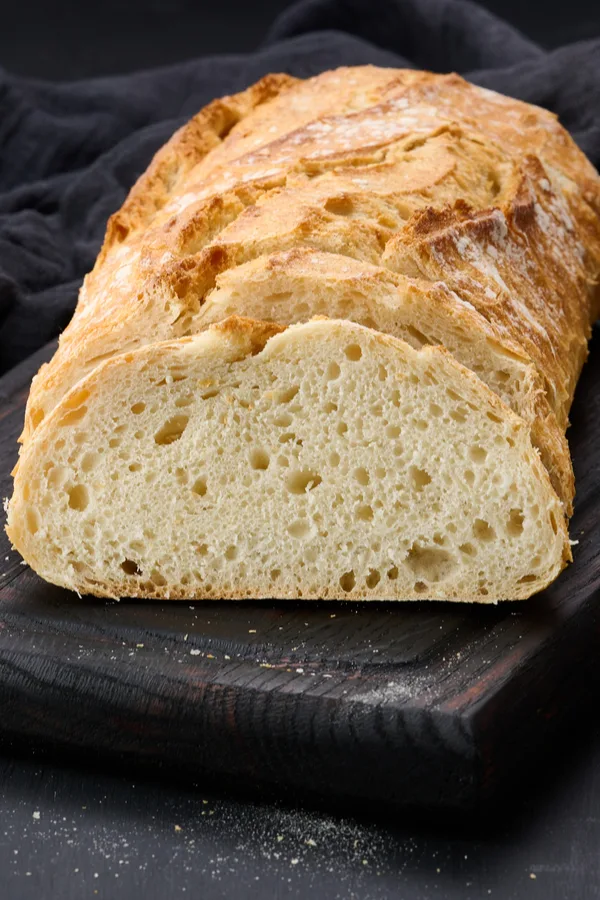
Though no-yeast bread is usually denser than traditional yeast bread, it has a satisfying texture and a mild flavor. It’s a great choice for anyone looking for a hearty loaf that pairs well with a variety of dishes.
Why Choose No-Yeast Bread?
There are many reasons why no-yeast bread is a go-to recipe for many home bakers:
- Time-Saving: Skip the waiting and kneading. This bread is ready in under an hour, perfect for busy schedules.
- Simple Ingredients: With only basic ingredients, this recipe is budget-friendly and easily adaptable to what you have on hand.
- Great for Sides and Dipping: With its slightly dense, rustic texture, this bread is ideal as a side for soups and stews, or for making garlic bread and other appetizers.
No-yeast bread is a great option for a quick, homemade loaf that’s both satisfying and easy to make.
Related: How To Prepare Homemade Pizza Dough In 13 Simple Steps
Essential Ingredients And Flavor Variations
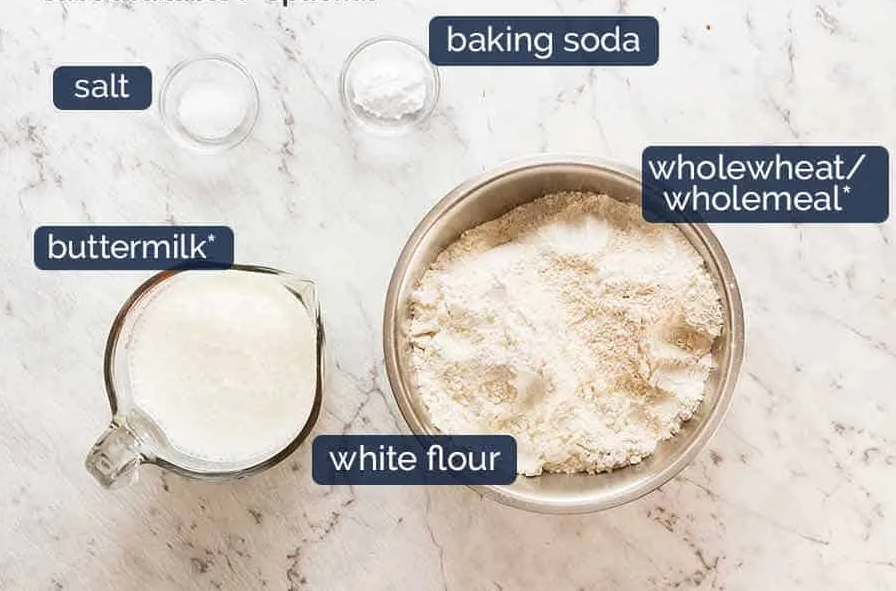
This recipe is simple yet flexible, allowing you to personalize the ingredients to your taste and dietary needs.
- All-Purpose Flour: This provides structure for the bread. For added texture, replace half with whole wheat flour.
- Baking Soda: Essential for leavening, baking soda helps the dough rise. Be sure to use fresh baking soda for the best results.
- Salt: Enhances flavor and brings out the bread’s subtle taste.
- Milk or Buttermilk: Adds moisture and serves as the acid needed to activate the baking soda. If buttermilk isn’t available, add 1 teaspoon of vinegar or lemon juice to regular milk.
- Optional Oil: Adding a tablespoon or two of olive or vegetable oil creates a softer, richer crumb.
- Add-Ins for Extra Flavor: Herbs, garlic, and cheese make excellent additions, giving the bread a flavorful twist that’s perfect for savory dishes.
For a final touch, consider brushing the top with olive oil or sprinkling with herbs before baking.
Step-by-Step Guide To Making No-Yeast Bread
Ingredients:
- 3 cups all-purpose flour
- 1 tablespoon baking soda
- 1 teaspoon salt
- 1 ½ cups milk or buttermilk (or 1 ½ cups milk with 1 ½ teaspoons vinegar or lemon juice)
- Optional: 1-2 tablespoons vegetable or olive oil
- Optional add-ins: Italian herbs, shredded cheese, or minced garlic
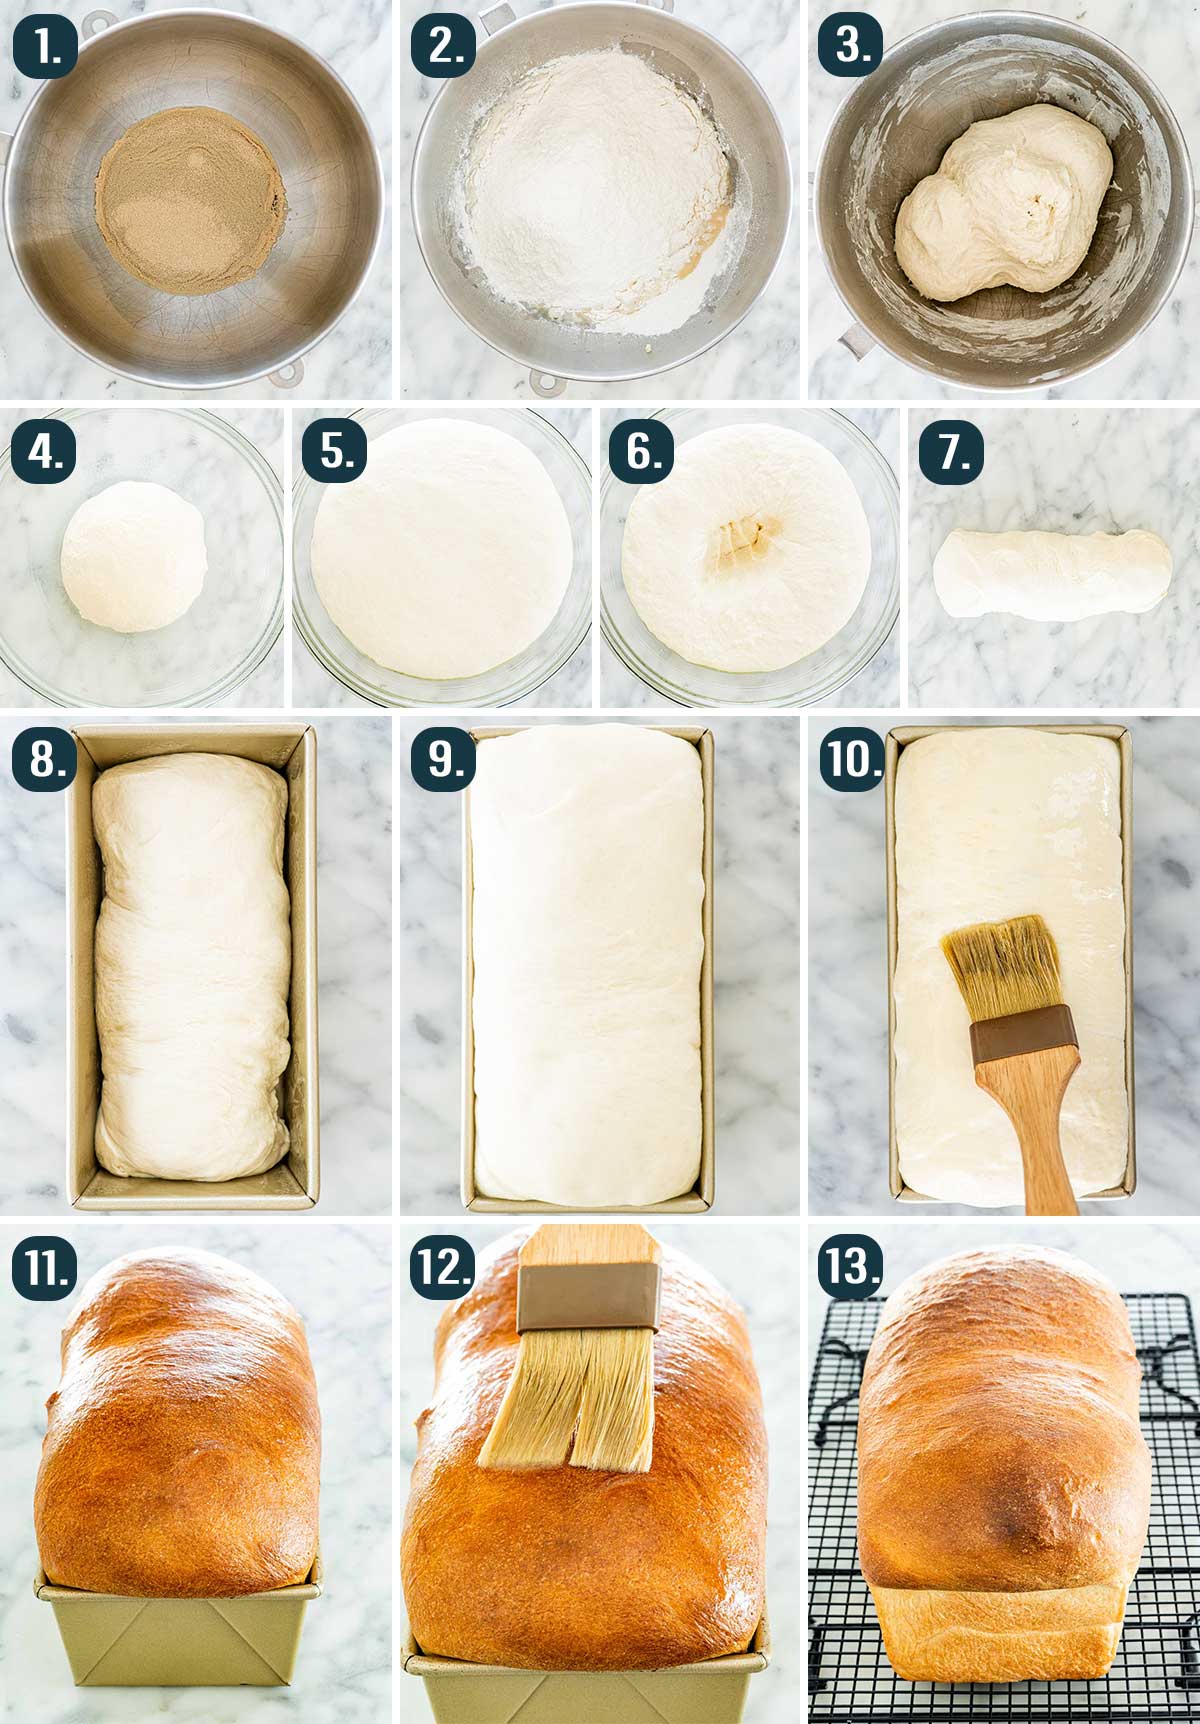
Instructions:
- Preheat the Oven and Prepare Baking Sheet: Preheat your oven to 400°F (200°C). Line a baking sheet with parchment or a silicone mat, or grease a loaf pan if you prefer.
- Mix the Dry Ingredients: In a large bowl, combine the flour, baking soda, salt, and any dry add-ins like herbs. Stir well to distribute evenly.
- Add the Liquids: Gradually pour in the milk or buttermilk, and if you’re adding oil, do so now. Mix with a fork or spatula until the dough forms. Avoid overmixing, as this can make the bread tough.
- Knead Lightly: Place the dough on a floured surface and knead gently for 1-2 minutes, just until it’s smooth. Be careful not to over-knead.
- Shape and Score: Shape the dough into a round or oval loaf, set it on the baking sheet, and score the top with a knife. Scoring helps the bread bake evenly.
- Bake: Place the loaf in the oven and bake at 400°F for 15 minutes. Then, reduce the temperature to 350°F (180°C) and bake for another 10-15 minutes. Check doneness by tapping the bottom of the loaf (it should sound hollow) or by inserting a toothpick into the top crack.
- Cool on a Wire Rack: Move the bread to a wire rack to cool, which prevents the crust from becoming soggy.
Watch How to make no-yeast bread:
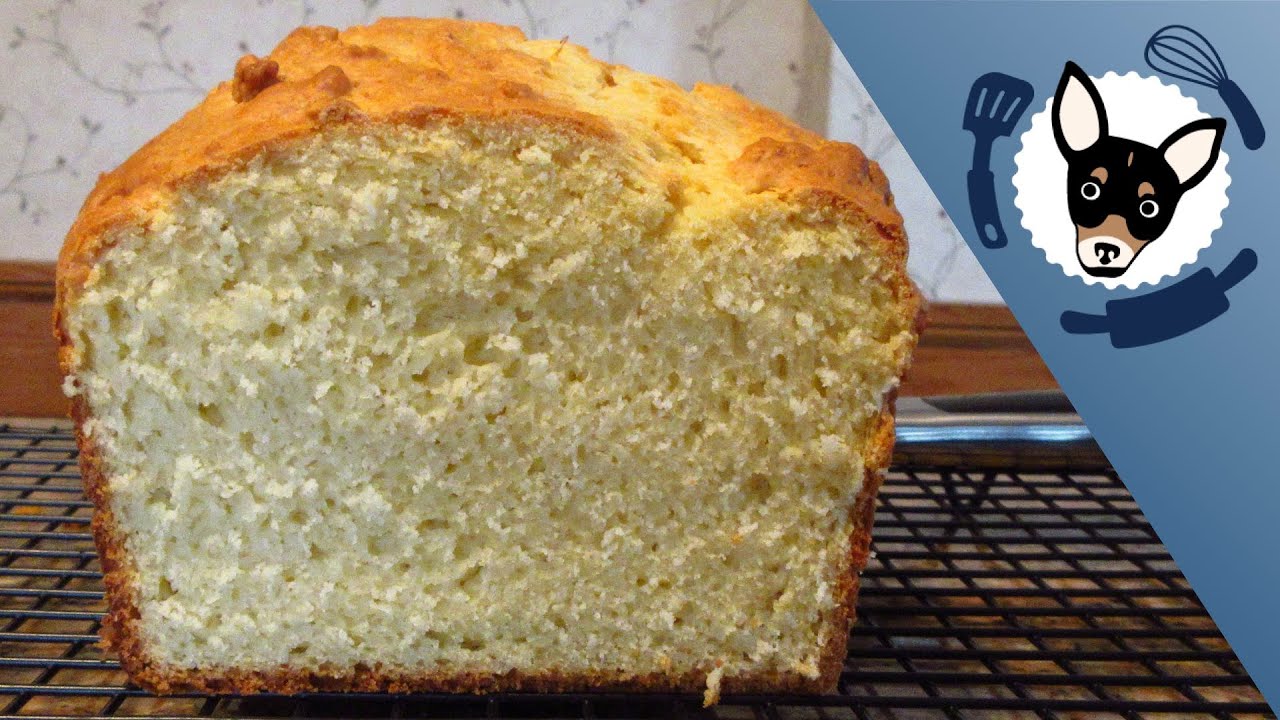
How to Make Bread without Yeast
Tips For Making The Best No-Yeast Bread
- Check Your Baking Soda: Fresh baking soda ensures optimal rising. Check the expiration date before using.
- Handle the Dough Gently: Knead just until the dough comes together to avoid a dense, tough loaf.
- Try an Envelope Fold: Flatten the dough slightly, fold it like an envelope, then shape into a loaf for a more structured appearance.
- Testing for Doneness: Use either the “hollow knock” test or a toothpick in the crack to make sure the bread is baked through.
- Add Flavor with Herbs or Cheese: Mix in herbs, cheese, or garlic to customize the bread to your taste. You can also sprinkle seasonings on top before baking.
See Also: How To Make Flavored Butter [12 Tasty Recipes]
Troubleshooting Common Issues
Dense Texture
Dense bread can result from over-kneading or using old baking soda. To prevent this, keep kneading to a minimum and ensure your baking soda is fresh.
Crust Too Hard
Over-baking can make the crust too hard. Try shortening the baking time slightly or cover the loaf with foil if it browns too quickly.
Softer Crumb
Adding a tablespoon of oil can make the bread softer and more tender, perfect for toasting.
Serving Suggestions And Creative Uses
- Great as a Side: This bread pairs well with soups, stews, and saucy dishes, where it can soak up the flavors.
- For Appetizers and Charcuterie: Slice and serve with cheeses, cured meats, and spreads.
- Toasted Bruschetta: Toast slices and top with tomatoes, basil, and olive oil for a simple bruschetta.
- Dipping in Olive Oil: Cut into strips and serve with seasoned olive oil for a quick appetizer.
- Garlic Bread Alternative: Spread slices with garlic butter, then broil for a quick garlic bread.
Try these serving ideas and let us know your favorite way to enjoy this bread!
Storage And Shelf-Life Tips
- Room Temperature: Keep the bread in an airtight container or wrapped in a kitchen towel for up to 2-3 days.
- Refrigeration: Store in the fridge for up to a week, although refrigerated bread is best toasted or warmed before serving.
- Freezing: Slice, wrap individually, and freeze for up to three months for easy access.
- Reheating: Warm individual slices in the toaster or the entire loaf in the oven at 300°F (150°C) for about 10 minutes.
Nutritional Benefits Of No-Yeast Bread
No-yeast bread is a wholesome, preservative-free alternative to store-bought bread. The simple ingredients allow for a cleaner, more nutritious option with several benefits:
- Reduced Additives: Homemade bread is free from preservatives, providing a cleaner ingredient profile.
- Extra Fiber with Whole-Grains: Use whole wheat flour for added fiber, which aids digestion and provides sustained energy.
- Quick Energy Source: This bread’s carbohydrates offer a quick source of energy. Adding seeds or nuts can give the loaf a nutritional boost.
FAQs About No-Yeast Bread
How Long Does No-yeast Bread Last?
Stored at room temperature, it lasts 2-3 days. In the fridge, it can keep up to a week, and freezing slices extends freshness up to three months.
Can I Make This Gluten-free?
Yes, substitute with a 1:1 gluten-free flour blend that contains a binding agent for similar texture.
How Can I Test If It’s Fully Baked?
Tap the bottom of the loaf (a hollow sound indicates doneness), or insert a toothpick in the top; if it comes out clean, it’s ready.
Can I Make This Into A Sweet Bread?
Absolutely! Try adding sugar, cinnamon, or raisins for a sweeter loaf.
If you have any other questions, let us know!
Final Thoughts
This no-yeast bread recipe is a simple, reliable way to make fresh bread without the hassle of yeast. With just a few ingredients and minimal prep, you can enjoy a homemade loaf with endless possibilities for customization. Try it out and let us know how you made it your own in the comments below!
Also Read: Easy Avocado Brownies Recipe - Make Fudgy, Nutritious Treats