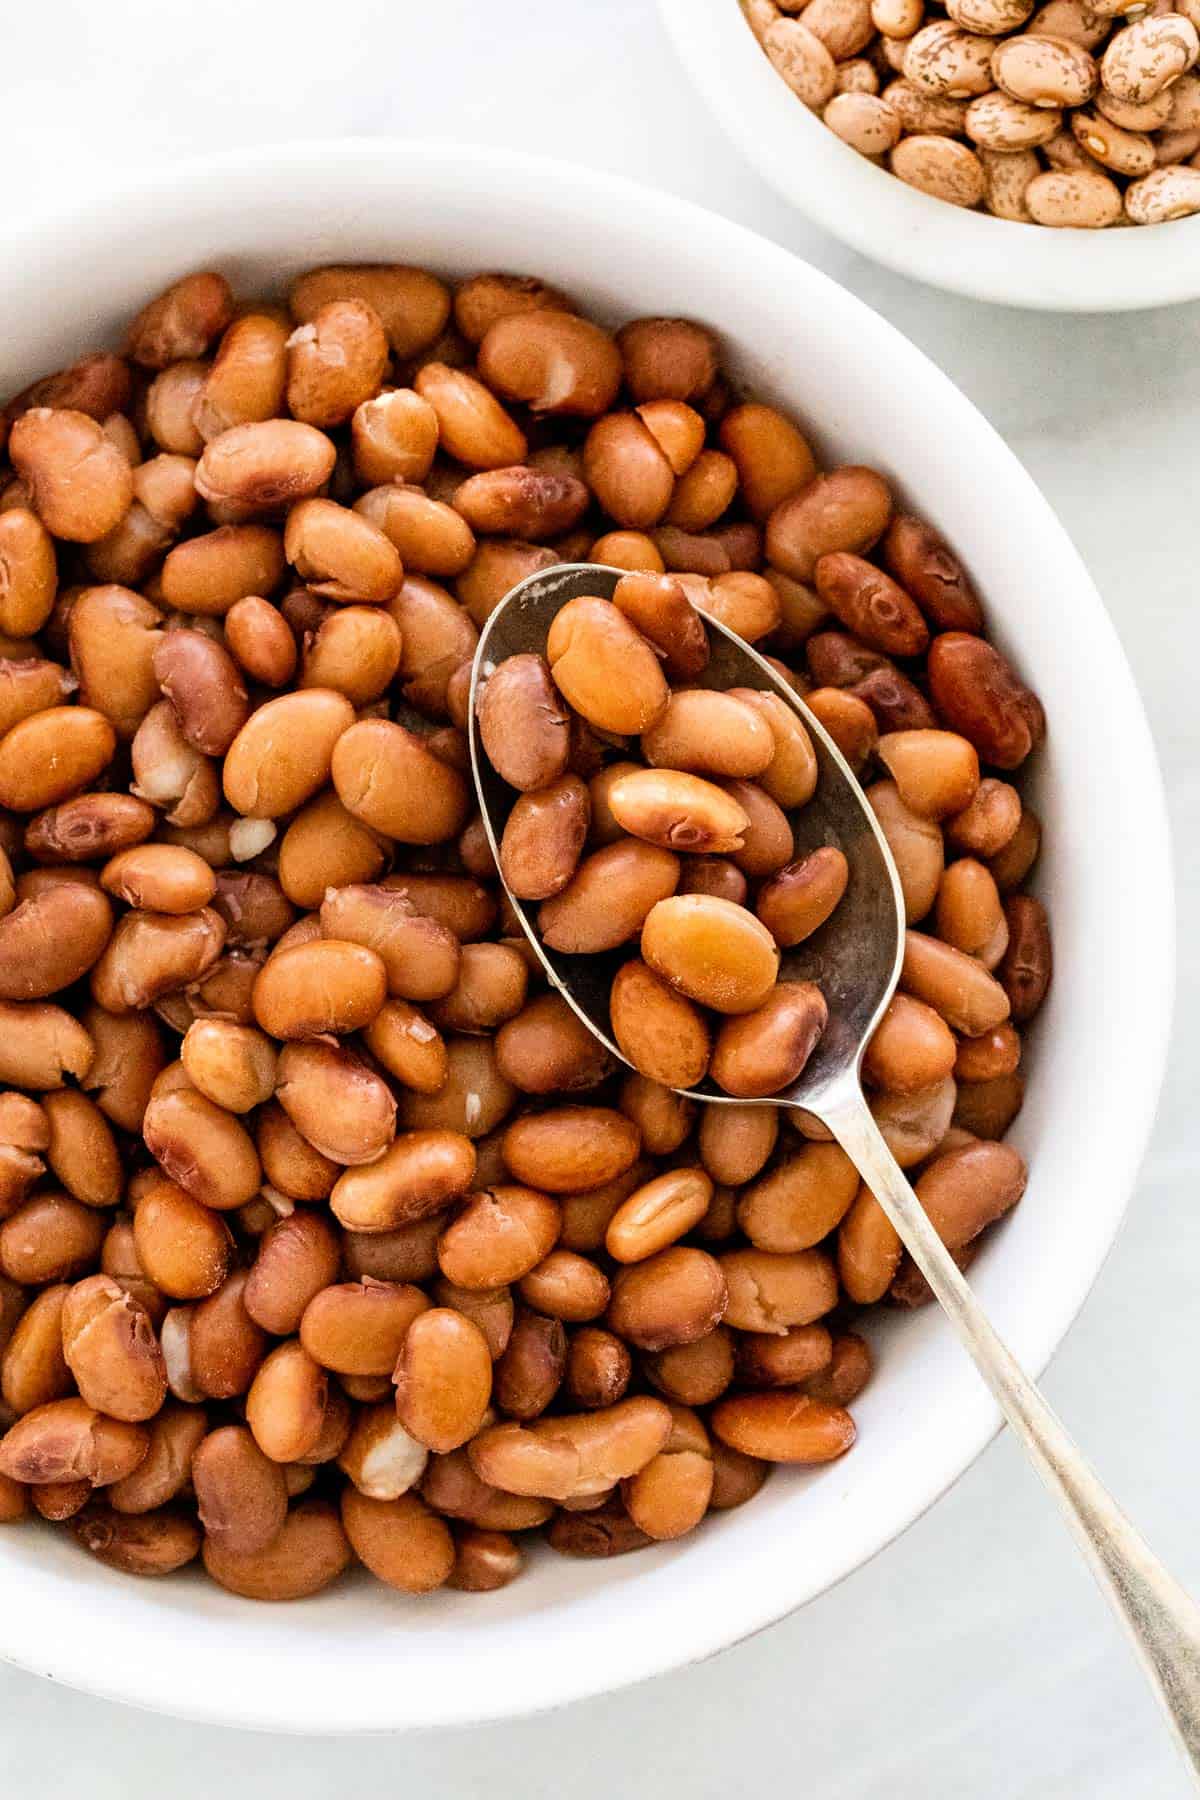
Cooking beans from scratch might feel like a big commitment, but the results are worth it. With superior flavor, a rich texture, and the ability to customize your seasoning, home-cooked beans easily surpass their canned counterparts. This guide will take you through the complete process, from soaking to storing, so you can enjoy beans that taste amazing in any dish.
1. Sort Through Your Beans
Before you start cooking, begin by sorting through your beans to remove any unwanted bits. Sorting is essential because dry beans can sometimes contain small stones, bits of straw, or damaged beans that don’t cook well and may affect the overall quality of your dish.
Spread the beans out on a clean surface, such as a tray or countertop, and take a close look. Remove any beans that look shriveled, cracked, or discolored, as these may not cook evenly. Discard any pebbles or debris to protect your teeth and ensure a clean batch of beans. Once you’ve sorted your beans, you’re ready to rinse them and move to the next step.
2. Rinse The Beans
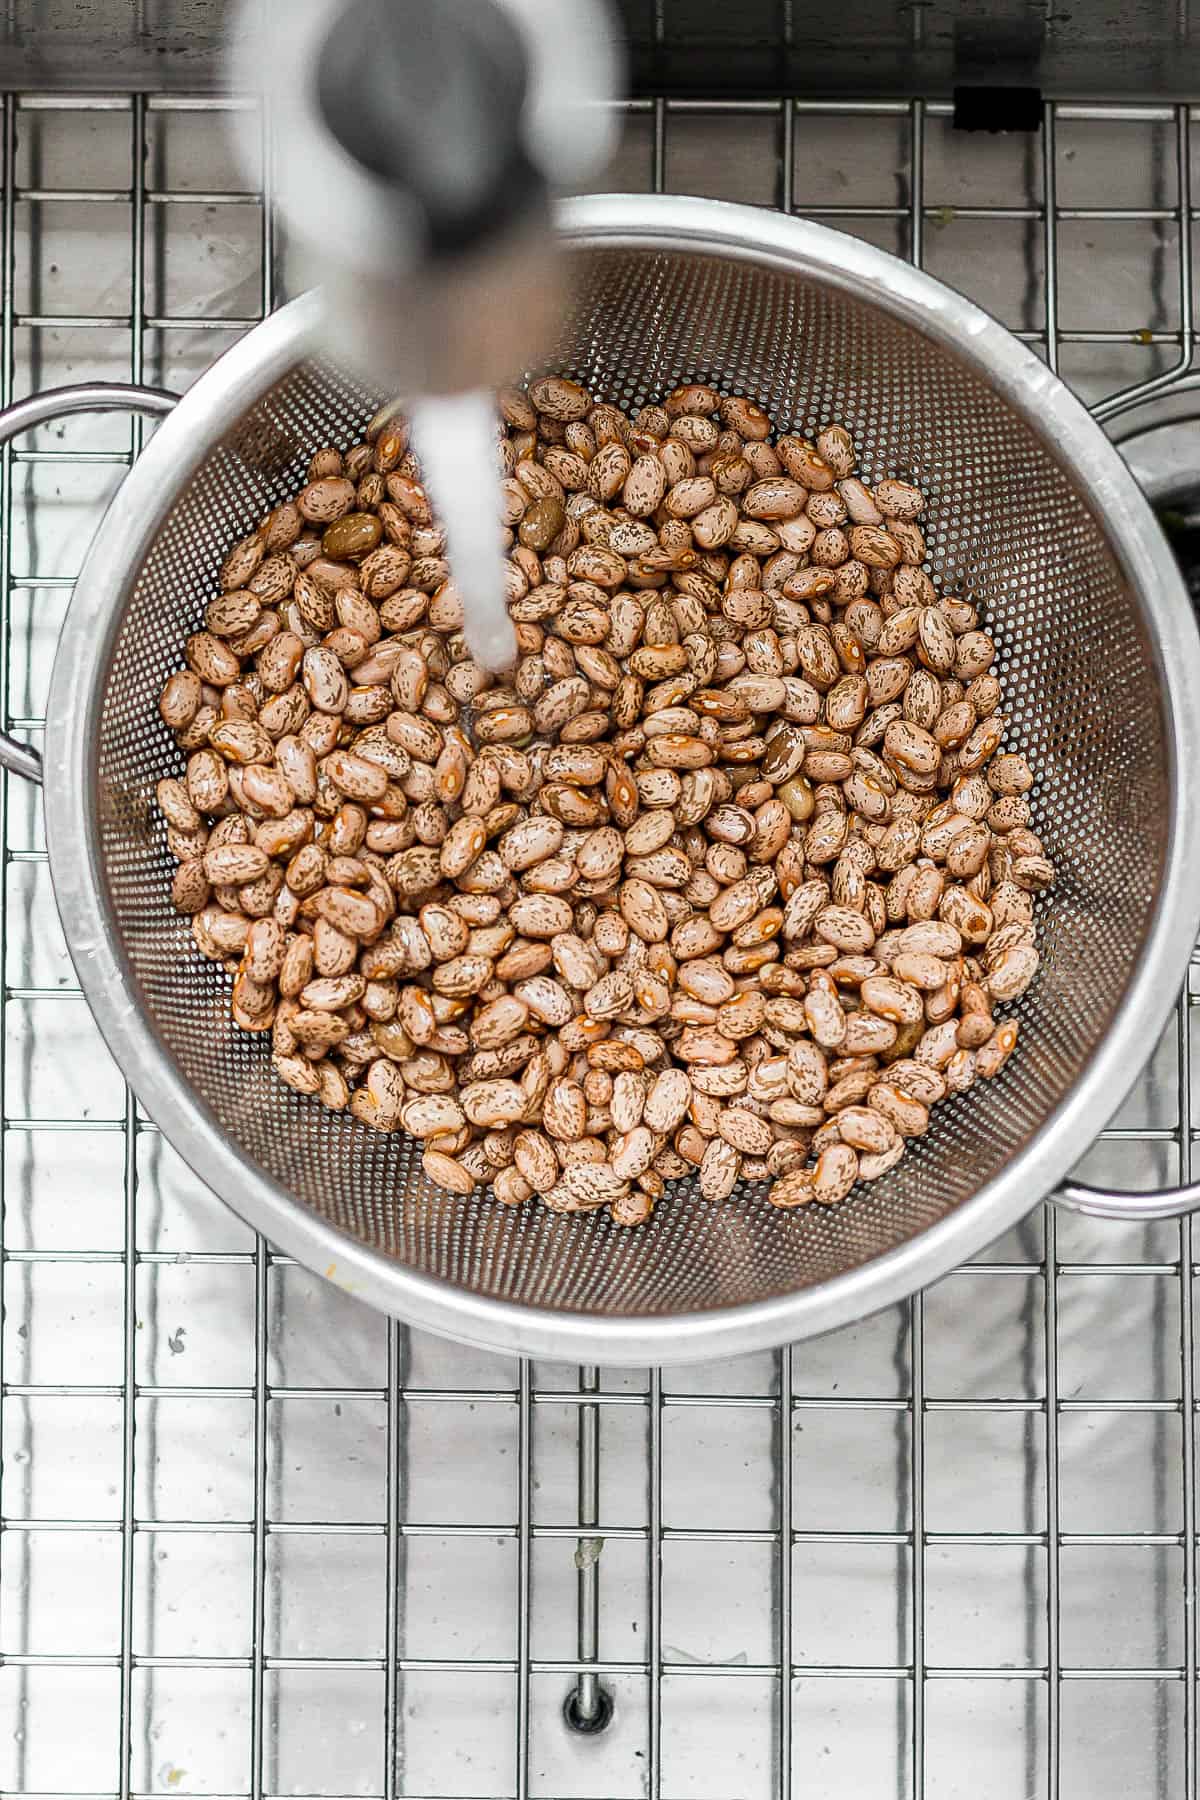
After sorting, place the beans in a colander or sieve and rinse them under cool running water. This rinsing step is essential to remove any remaining dust, dirt, or particles from the beans. Run your fingers through the beans to make sure every bean gets a good wash. Clean beans will help your final dish taste fresh and prevent any unwanted grit from affecting the texture.
3. Decide If You Want To Soak The Beans
Now that your beans are sorted and rinsed, you can choose whether to soak them before cooking. Soaking beans is an optional step, but it has several advantages. Soaking can significantly reduce cooking time because it softens the beans, making them cook faster.
It also helps prevent the skins from bursting, which keeps your beans looking and tasting better. Soaking may also reduce the compounds in beans that cause gas, though these compounds can benefit gut health as well.
4. Soak The Beans (Optional)
If you decide to soak your beans, here’s how to do it. Place your rinsed beans in a large bowl or pot, making sure you have enough room for the beans to expand. Beans can double or even triple in size as they soak, so be generous with space. Cover the beans with several inches of fresh water; for reference, you’ll need about eight cups of water for every two cups of dry beans.
If you’re not on a salt-restricted diet, consider adding about one tablespoon of salt to the soaking water and stirring it in until it dissolves. Salt helps season the beans from the inside and does not prevent them from softening, despite common myths. Let the beans soak overnight or for at least 12 hours, which will soften them and make them easier to cook. If you only have a few hours, even a short soak can help.
5. Drain And Rinse After Soaking
After soaking, you’ll notice that the beans look larger and plumper, having absorbed a lot of water. Pour the soaking water out, especially if you used salt, as this can be quite concentrated. Rinse the beans under cool water once again to remove any excess salt or residue. Rinsing also helps get rid of any remaining compounds that may cause gas.
If you didn’t soak your beans, you can skip this step and move on to cooking. Just remember that unsoaked beans will need more water during cooking, as they haven’t had time to absorb any liquid yet.
6. Add Fresh Water And Start Cooking
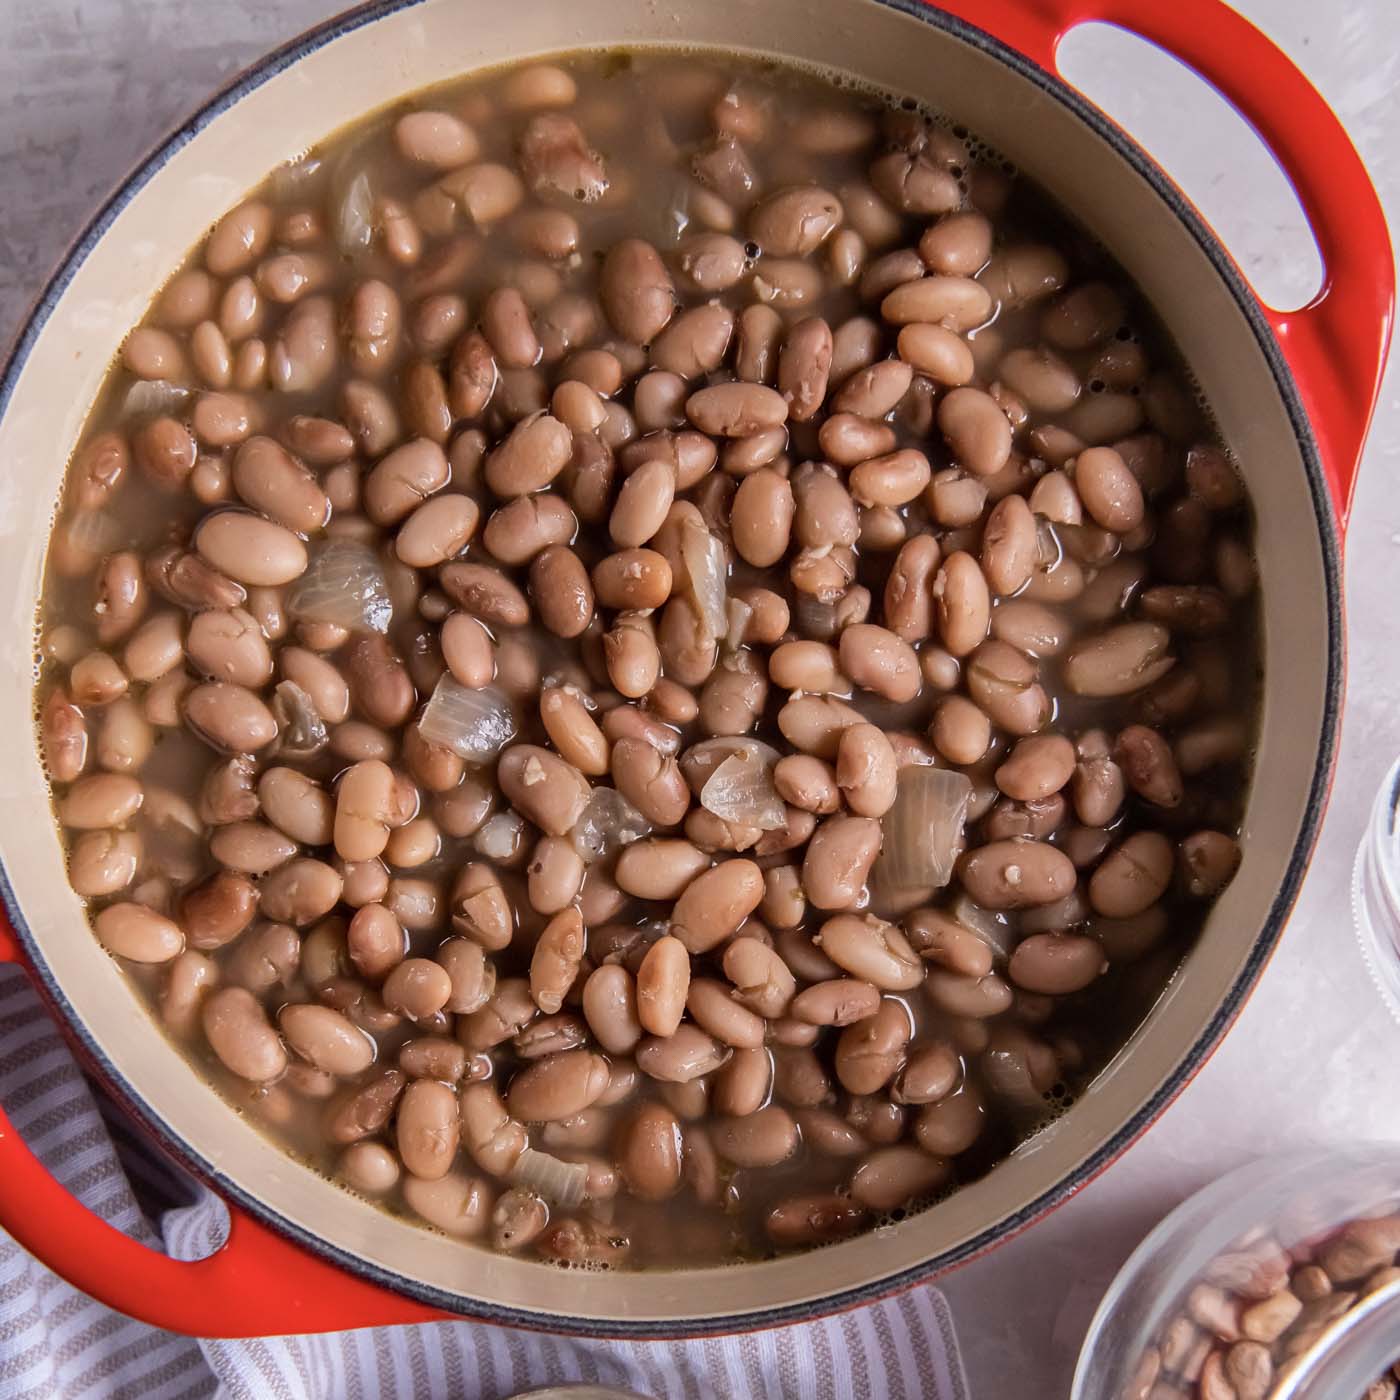
Once your beans are soaked, drained, and rinsed, place them in a large pot for cooking. Cover the beans with fresh water, ensuring the water level is two to three inches above the beans to keep them submerged as they cook. Adding fresh water rather than reusing the soaking water improves the flavor and helps the beans cook evenly. If you’re aiming for a richer, earthy flavor, you might consider cooking with cast iron, as it provides even heat distribution, which brings out deeper, more robust flavors in your beans.
7. Boil, Then Simmer The Beans
To cook the beans, first bring the pot of water and beans to a boil over medium-high heat. Placing a lid on the pot can help speed up the boiling process. Once the water reaches a boil, lower the heat to a gentle simmer. A gentle simmer is key to preventing the beans from breaking apart or bursting, which keeps their texture and shape intact.
Keep an eye on the water level throughout cooking. If you notice the water level dropping below the beans, add a bit more water to keep them covered. Some people recommend using warm water, but room temperature water works just fine if you don’t have warm water on hand.
8. Test For Doneness
The time it takes for beans to cook varies widely, depending on the type of beans, their age, whether you soaked them, and your altitude. Generally, beans take anywhere from 30 minutes to two hours to cook. After about 30 minutes, check the beans by poking a few with a fork or tasting them. If they’re still hard, continue cooking and check every 15–30 minutes.
You’ll know they’re ready when they’re tender all the way through without being mushy. If you want to add more salt, now is a good time to taste and adjust. Cooking beans is a bit of an art, so don’t worry if it takes longer or shorter than expected. Factors like your elevation and the age of the beans can influence cooking time.
9. Seasoning Your Beans
Seasoning beans properly brings out their full flavor. Add a small amount of salt (about ½–1 teaspoon) toward the end of cooking to avoid toughening the beans. For extra depth, add aromatics like garlic cloves, a bay leaf, or a piece of onion while the beans cook. Herbs such as thyme or rosemary also work well, especially for Mediterranean or Italian-inspired dishes.
For even richer flavor, consider caramelizing onionsbefore adding them to the beans. Caramelized onions add a natural sweetness and depth that enhances the overall taste, turning the beans into a delicious, versatile base for many recipes. If you’re using acidic ingredients like tomatoes or vinegar, wait until the beans are fully tender, as acidity can prevent softening. Thoughtful seasoning is key to bringing out the best in your beans.
10. Enjoy And Store Your Beans
Once the beans are cooked to your preference, you can enjoy them right away. Freshly cooked beans have a soft texture and rich flavor that make them a delicious addition to any meal. If you’re not planning to eat them all immediately, let the beans cool to room temperature and store them for later.
Storing leftovers thoughtfully is a great way to prevent food waste. Place the beans in an airtight container with some of their cooking liquid, also known as bean broth. This broth is full of flavor and can be used in other recipes or enjoyed on its own. Refrigerated beans can last for up to five days, and for even longer storage, freezing is an option.
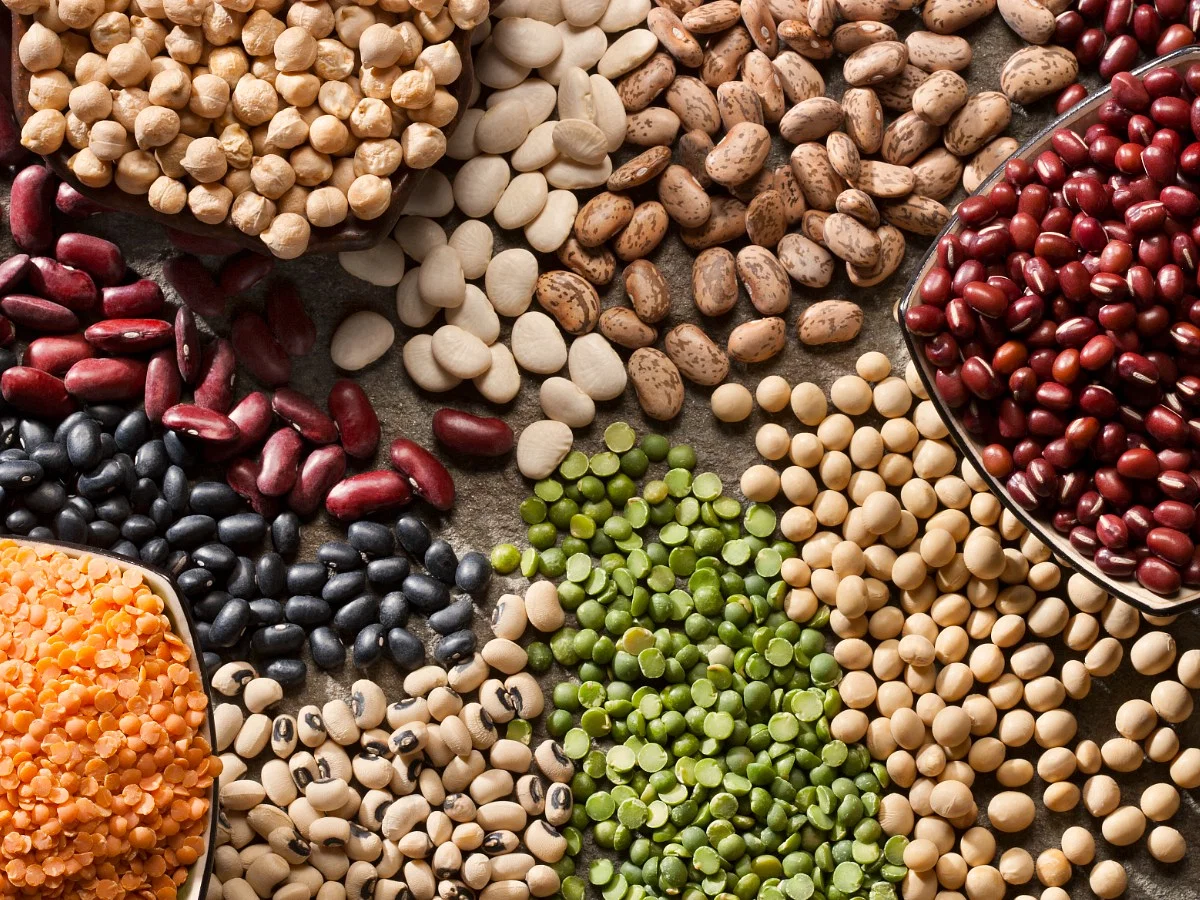
Types Of Beans And Their Uses
1. Black Beans
Black beans are small, creamy, and have a mildly sweet flavor. They’re commonly used in Latin American cuisine and are ideal for dishes like burritos, tacos, black bean soup, and salads. Black beans pair well with spices like cumin, garlic, and cilantro, making them versatile in Mexican and Caribbean-inspired recipes.
2. Kidney Beans
Known for their firm texture and kidney shape, kidney beans are popular in hearty dishes. They’re especially good in chilis, stews, and curries due to their ability to hold their shape well during cooking. Kidney beans have a mild flavor that absorbs spices and herbs, making them perfect for rich, spiced dishes.
3. Chickpeas (Garbanzo Beans)
Chickpeas are nutty and slightly grainy, making them perfect for dishes like hummus, curries, and salads. They’re common in Middle Eastern and Mediterranean cuisines and are often used to make falafel. Their hearty texture also makes them a great addition to soups and stews, where they can add body and richness.
4. Navy Beans
Navy beans are small, creamy, and mild in flavor. They’re commonly used in baked beans, soups, and casseroles, and they’re a classic choice for traditional Boston baked beans. Navy beans have a soft texture when cooked, which makes them ideal for purees and creamy soups.
5. Pinto Beans
Pinto beans are soft and slightly earthy with a nutty flavor. They’re a staple in Mexican and Southwestern dishes, where they’re often mashed for refried beans or used whole in burritos and enchiladas. Pinto beans are also great for chili, stews, and soups because of their ability to absorb seasonings.
6. Great Northern Beans
Great Northern beans are large, white, and have a mild, nutty flavor. They’re often used in soups, stews, and casseroles and are popular in Italian and French cooking, especially in dishes like white bean soup and cassoulet. Their delicate flavor makes them an excellent base for herb-infused dishes.
7. Cannellini Beans
Cannellini beans, also known as white kidney beans, are creamy and slightly nutty. They’re often used in Italian cuisine, especially in soups, salads, and pasta dishes like minestrone. Cannellini beans have a smooth, tender texture that works well in stews and purees.
8. Lentils
Lentils are small and cook quickly, with a slightly peppery flavor. They come in various types, including green, brown, red, and black, each with different uses. Green and brown lentils hold their shape well and are ideal for salads and soups, while red and yellow lentils break down more easily, making them perfect for creamy curries and dals.
9. Adzuki Beans
Adzuki beans are small, red, and have a naturally sweet flavor. They’re often used in East Asian cuisine, particularly in Japanese sweets and red bean paste. They’re also used in savory dishes like rice bowls and stir-fries, and their mild sweetness pairs well with coconut and ginger.
10. Mung Beans
Mung beans are small and green, with a slightly sweet and nutty flavor. They’re widely used in Asian cuisine, often sprouted for salads and stir-fries or cooked into soups and curries. Mung beans are also used to make dal in Indian cooking and are a staple in health-conscious diets due to their high protein content.
Cooking Times For Different Beans
- Black Beans: 60–90 minutes (45–60 minutes if soaked)
- Kidney Beans: 90–120 minutes (60–90 minutes if soaked)
- Chickpeas (Garbanzo Beans): 90–120 minutes (60–90 minutes if soaked)
- Navy Beans: 60–90 minutes (45–60 minutes if soaked)
- Pinto Beans: 90–120 minutes (60–90 minutes if soaked)
- Great Northern Beans: 60–90 minutes (45–60 minutes if soaked)
- Lentils: 20–30 minutes (no soaking required)
- Split Peas: 30–45 minutes (no soaking required)
- Mung beans: 50–60 minutes (20–30 minutes if soaked)
Benefits Of Cooking Beans From Scratch
1. Enhanced Flavor And Texture
Home-cooked beans have a richer, more complex flavor and a firm, creamy texture that surpasses canned beans. Cooking from scratch allows you to control the doneness and customize the taste with aromatics like garlic, onion, and herbs.
2. Nutritional Boost
Beans are high in plant-based protein, fiber, and essential vitamins and mineralssuch as iron, magnesium, and folate. Cooking beans yourself reduces the need for added sodium and preservatives, making them a healthier option than many canned varieties.
3. Cost-Effectiveness
Dried beans are inexpensive and provide more servings per dollar compared to canned beans. Buying in bulk and cooking beans in large batches is economical, especially for families or those following plant-based diets.
4. Environmental Benefits
Cooking dried beans has a smaller environmental footprint. It reduces packaging waste and requires fewer resources to process and transport compared to canned beans. Beans are also an eco-friendly protein source, as they require less land, water, and energy to produce than animal-based proteins.
5. Digestive Health
Soaking and cooking beans from scratch can help reduce compounds that cause gas and bloating, making beans easier to digest. Additionally, beans contain prebiotics that support gut health by feeding beneficial bacteria in the digestive system.
6. Versatility In Cooking
With homemade beans, you have control over texture and seasoning, allowing you to prepare them for a variety of recipes. Cooked beans can be used in soups, salads, tacos, spreads, and even as a meat substitute in dishes like burgers and chili. Having a stash of cooked beans also makes meal prep faster and more convenient.
7. Control Over Ingredients
When you cook beans at home, you have complete control over the ingredients used. You can avoid additives, preservatives, and excess salt, tailoring the recipe to your taste or dietary preferences, such as low-sodium or low-oil cooking.
FAQs
Should I Add Salt To Beans While Cooking?
Adding salt toward the end of cooking is best, as it can prevent the beans from fully softening if added too early. Start with a small amount and adjust to taste once the beans are tender.
Can I Cook Beans Without Soaking Them First?
Yes, you can cook beans without soaking, but they’ll take longer. Soaking can reduce cooking time and help prevent beans from splitting open.
How Long Do Cooked Beans Last In The Fridge?
Cooked beans can be stored in an airtight container in the refrigerator for up to 5 days. Keep some of the cooking liquid with them to maintain moisture and flavor.
Why Are My Beans Still Hard After Cooking?
Beans may remain hard if they’re old, if you’re cooking at a high altitude, or if you used hard water. Try cooking longer or using filtered water for best results.
Can I Freeze Cooked Beans?
Yes, beans freeze well. Once cooled, store them in portions with or without the cooking liquid. They’ll keep in the freezer for up to three months, ready for quick use in meals.
Final Thoughts
Cooking beans from scratch might take a bit of time, but the result is a healthier, more flavorful, and versatile ingredient that you can use in countless dishes. If you’re adding them to a soup, making a dip, or using them as a side, homemade beans are a worthwhile addition to your cooking routine. Soak, simmer, season, and enjoy the satisfaction of a delicious pot of beans.
Beyond taste, cooking your own beans gives you control over nutrition, reduces sodium, and eliminates preservatives often found in canned varieties. It’s also a budget-friendly option that minimizes environmental impact and supports digestive health.


